


I am by no means a professional when it comes to night sky photographs. I'm only just starting to really get into experimenting with night sky photos myself. A lot of it has to do with the fact that I don't go outside in the middle of the night and play around with it much. If only it got darker here sooner in the summer. it's still dusk at 10:30. I thought I would share what I learned through trial and error.
We went to Sardinia last week and we were in a pretty remote beach area, good for viewing and photographing the stars. I took my camera out and did a little playing around. I've tried my hand at it before but not as long and not in as good of a rural area.
Here are some of my images and my tips I found useful and thought I could pass along to another amateur night sky photographer.

ISO 1000 f/1.8 15s 50mm no flash
ISO 3200 f/1.8 8s 50mm no flash
What you will need:
Tripod - You will be keeping the shutter open for a long time so this is necessary for keeping your images crisp.
Shutter remote - Another necessity to keep you from jiggling the camera when pressing the shutter release button.
Lens with low aperture setting - I used a fixed 50mm lens but I also used my kit lens for one.
Dark, cloudless sky - although some clouds can look cool in night photos. Maybe I'll do another post on that soon.
Patience - lots and lots of patience.
Small Light - I used a small flashlight in setting up my equipment and checking my settings etc. Plus walking in the dark wasn't fun.

ISO 1250 f/3.5 15s 18-105mm no flash
Big Dipper

ISO 100 f/1.8 383.5s 50mm no flash
Tips for Night Sky Photography:
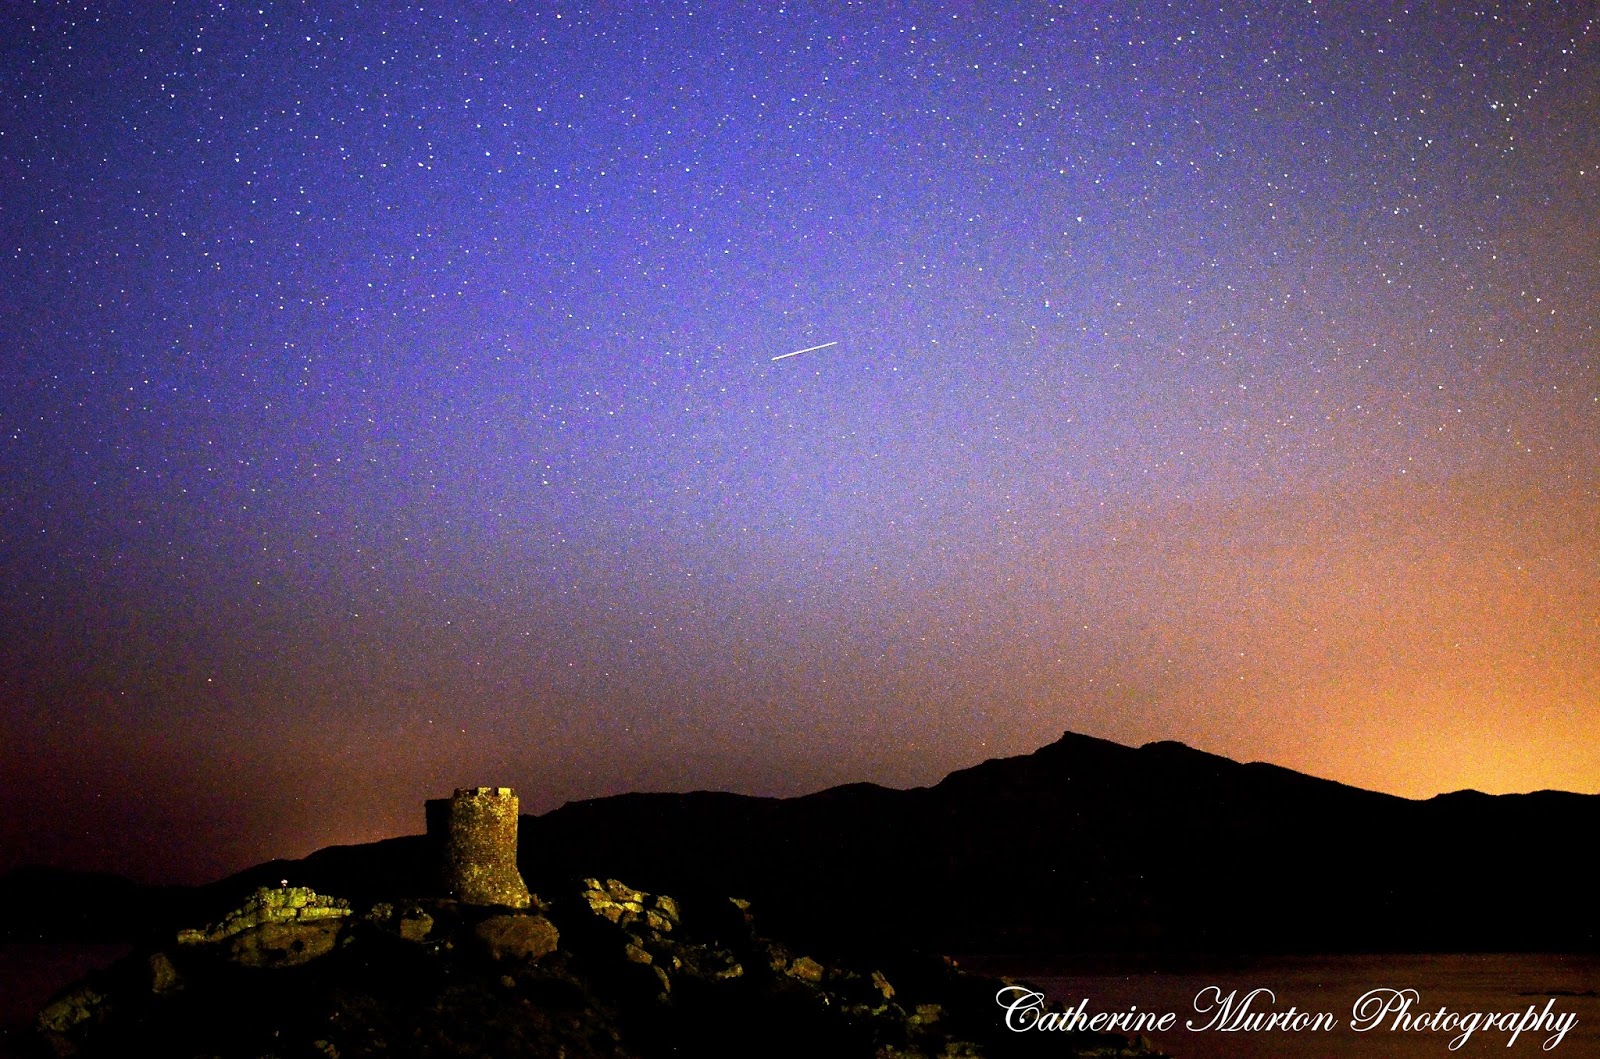
The first thing you need to do is wait for a dark night with no clouds. You'll get better shots away from any street lights, houses, etc because those lights give off light pollution. The further out away from any lights the better your photos will be, otherwise you might end up with some strange orange glows in some of your photos. That can be okay sometimes as in my picture with the tower and shooting star. It may look completely dark to your eye but your camera will pick up some fragments of light.
Set up your equipment, pointing the camera away from city lights and take a few test shots. See what it looks like and tweak as necessary. I started just pointing at random points in the sky and played around with my settings.
Remember your ISO can be in the low or middle range. Mine ranged from 100 to 3200 to help get more starlight coming through your camera depending on the image I was trying to capture. Don't use your flash.
Auto focus won't work on stars so don't even try it. Set your camera/lens to manual and what I found worked for me was to focus at infinity and then move it back just a little bit. On some brighter stars I could see them in my viewfinder and focus on them manually but most the time I felt like I was just guessing on the focus. That's okay too. That's where your patience comes in.
Once you get your stars in focus set your shutter speed to different settings to see what you like. Start with 5, 10, 30 seconds. If you choose to try longer shutter speeds you'll have to set your camera to bulb and have a way to time yourself. I'm not very patience when having to wait minutes for one photo. The longest I think I've done was about 6 minutes.
If you're lucky you might even get a shooting star in some of you photos! There might be planes that also fly through your frame and they aren't as pretty. Aim towards different areas to see what composition you like or what you can capture.
For star tracking (which shows the movement of the earth) you'll want to keep your shutter open for longer. To create a circle pattern, shoot towards the north star (see above). The further away from the north star, the longer the trails look.

ISO 100 f/2.5 301.4s 50mm no flash
Hopefully these tips will help you when starting out with your own night sky photography. Have fun playing around with it and see what works best for you in your area. Just remember it takes some trial and error and a lot of patience so don't get discouraged, keep at it. I'm hoping to try my hand at some more night photography again soon.

No comments:
Post a Comment