Here it is in all it's colorful glory! You may remember my Project 64 photography project I completed in 2012. I absolutely adored this project and wish I could find one I loved as much. After I finished it I wanted to a make a coffee table book out of all my photos to document the journey. I used Snapfish and waited until they had a sale on their photo books. I got a pretty good deal.
The hardest part was going through and putting each photo in chronological order. I save the photos by color name so that got a little tedious but other than that I got this done in no time. Plus it was fun to look over my progress and changes in style as time when on. Some weeks were more technical than others and some weeks I was more focused on matching the color exactly.
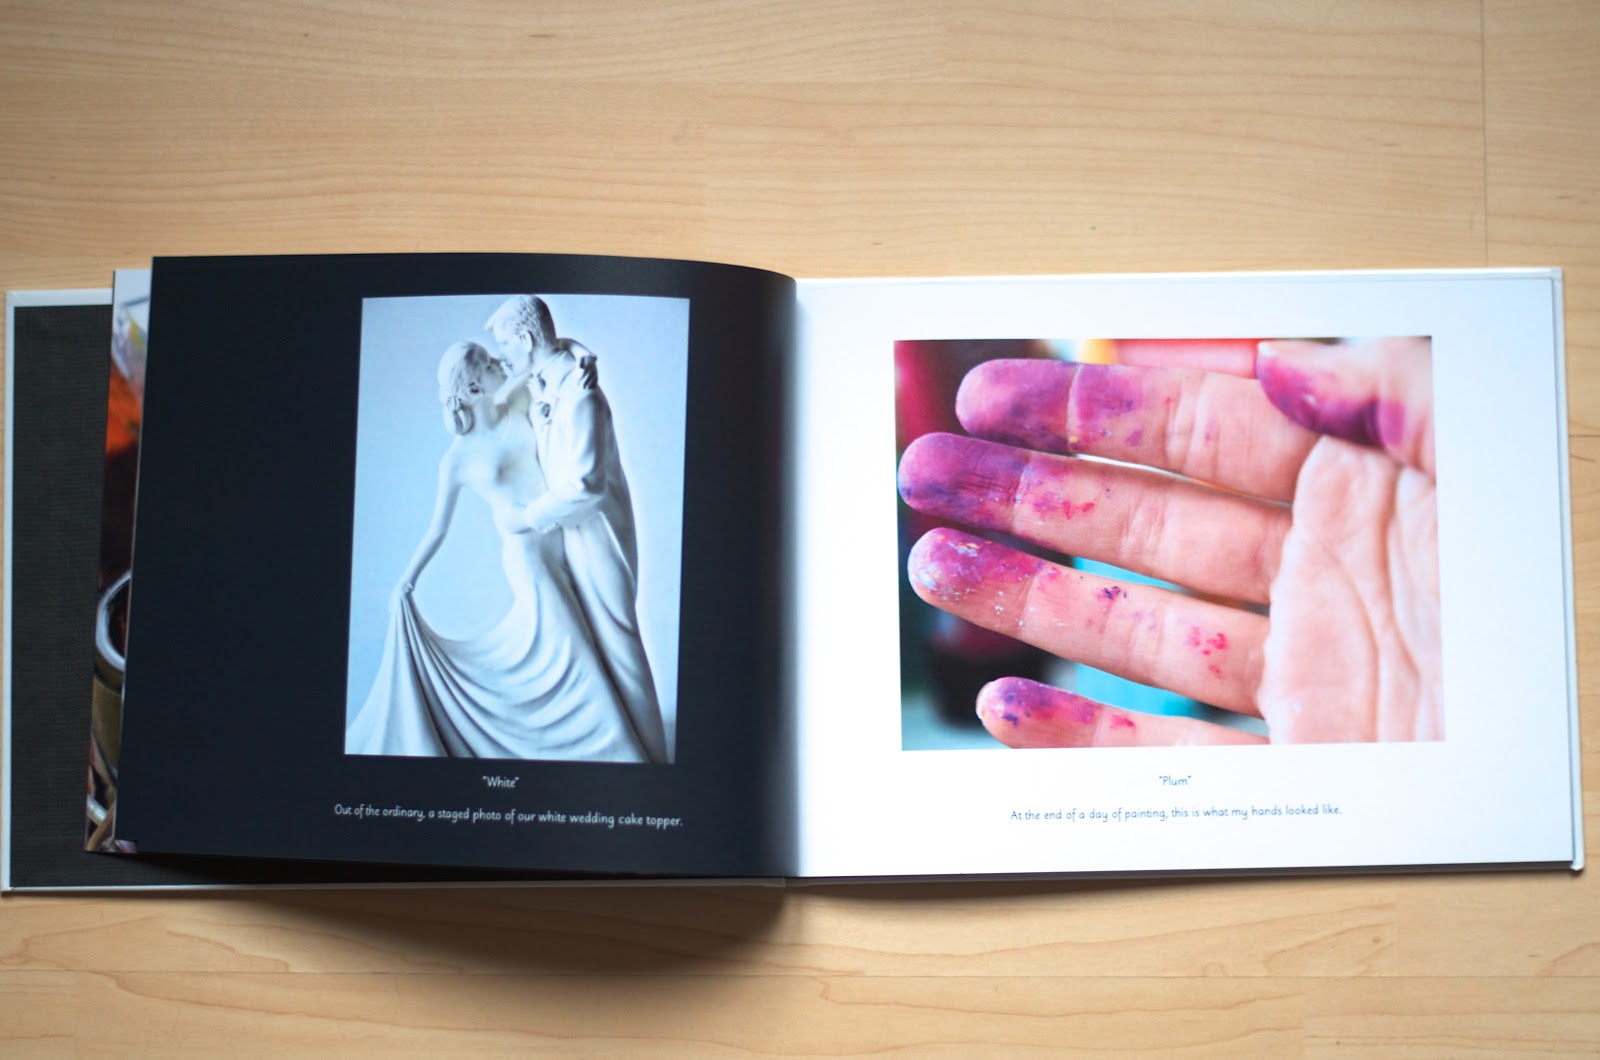
My book is a 8.5x11 custom cover book. I used the studio theme which kept it a simple black and white and I could change up the photo sizes. Mostly I left my photos big. At the bottom or on the side, depending on the layout, I wrote the color and a little bit about each photo. It ended up being 66 pages all together.
So now I have this pretty coffee table book for people to look at when they come over. I'm sure after a while I'll add it to the bookshelf but for now I'm enjoying showing it off!
I decided in honor of my 100th follower (thanks Samia!). I would post a tutorial for a fun paper bunting! I made one for Ariana's First Birthday and loved how it turned out. I decided it would be something fun I could share with y'all. This is my first tutorial so bear with me!
You can make this be a birthday banner, put some inspiration word on there, or just leave it simple for a pretty decoration. In this post I'll show you how you can make a pretty basic one, but of course feel free to jazz it up if you like and change things up to suit your taste.
Here is the one I made for this tutorial.
Here is the one I made for Ariana's birthday last November.
Ok, let's get started!!!
Here is what you will need:
-coordinating paper
-plain paper for background for letters
-letters (stickers, chipboard, stamps etc)
-coordinating streamers (I used 2 colors)
-coordinating curling ribbons (I used 2 colors)
-glue
-scissors
-pen
(not pictured) something to trace a circle, I used a glass.
Also a ruler to measure your triangles.
I like to choose 3 coordinating papers. 1 pattern and 2 solid colors. You can choose all solid or all patterned. Whatever you feel like!
First cut out your triangles. Mine were about 8 1/2 inches across the top and about 11 inches measuring from the middle down to the tip.
Use your first triangle as a pattern to trace your other ones if you want.
I didn't like the color of my letters so I choose to paint them to match.
Then, use something round to cut out circles to be the background for your letters. Make sure it's big enough so that your letters fit on there but that you also have room when you put it on the triangle so that you can put the streamers behind it.
I used a glass to trace my circles, and then just cut them out.
Now it's time to start putting it all together!
First step in making your triangles is to make a circle out of glue.
Layer your streamers into a circle shape on the glue. Kind of bunch it up as you go along. Don't worry about it looking perfect, it won't! Be careful once you start layering it onto the glue and it gets wet it can be hard to reposition because it starts to fall apart because it's so thin.
Next add another little bit of glue on top of the streamer circle and put your paper circle on top.
Finish it off by adding your letters.
Then, punch holes at the top of each triangle.
Measure your coordinating ribbons so that it's long enough to hold all the triangles and has enough left over on each side to hang it with.
Begin threading your triangles onto the ribbons.
And, TA-DA!!! You're finished! Now you have a pretty paper bunting!!
I'm sure this wasn't the best tutorial you've ever seen but I hope I made this pretty clear and didn't confuse anybody. I hope you like it and use it next time you have a party or just want something pretty to hang up!
~~~~~~~~~~~~~~~~~~~~~~~~~~~~~~~~~
Tomorrow is the first day of COLORWEEK on my blog! If you missed the post. Here is all the information about it.
The color for tomorrow is RED!
I can't wait to see all the red things in your world! I'll be posting my pictures tomorrow night!