Photobucket      Photobucket      Photobucket      Photobucket      Photobucket      Photobucket      Photobucket      Photobucket
Showing posts with label Christmas crafts. Show all posts

Friday, December 21, 2012

Christmas Creations

Here is a peek into some of the things we've been creating for Christmas. Crafts, cookies and more!

 We saw some similar reindeer cookies on pinterest and made these for Ariana's school bake sale.

We counted down the days until Christmas by filling in Santa's beard with cotton balls.

 We melted plastic beads and made a pretty "stained glass" looking heart ornament.

 We painted her hands and made Christmas mittens. She did all the cutting herself and glued cotton balls on the  cuff to finish them.

 We made oranges with cloves and gingerbread men and trees. She calls these "gingers" it's pretty darn funny!
I made a wreath to put on our table. We dried orange slices, and attached fake apples, cinnamon, raffia and gold stars. A yummy yankee candle goes in the middle.

We've made other ornaments, cookies, bread and other goodies but I didn't take photos of them. It's been a fun holiday season though.

Pin It!

Tuesday, December 20, 2011

DIY Amaretto Hot Cocoa Mix

This is a perfect (super easy) last minute gift for teachers/friends/coworkers, or make a batch for the family on Christmas morning to sip while opening presents!


Amaretto Hot Cocoa

8 cups dry milk (10oz)
1, 1 lb box confectioners sugar 
1, 16 oz can of Amaretto flavored coffee creamer 
1, 8 oz box Hershey's Cocoa (natural unsweetened)
1/2 tsp. salt

This makes about 20 cups so be prepared to give a lot to friends or cut the recipe down. Mix together all the ingredients in a large bowl until combined. Store in an airtight container.

To serve: stir 3 heaping tablespoons of mix into about 6 oz of hot water. Top with mini marshmallows if desired. Enjoy!

+

We made this to give to the teachers at Ariana's preschool and we made cute little labels for them and topped the jars with fabric, twine and a candy cane.

Here is the label we made. Feel free to save and print them for your cocoa too!


Want more Christmas recipes? 

I'm linking up with Holiday Bokeh Party!


Pin It!

Wednesday, December 22, 2010

A Little Surprise!

I was shopping online a few weeks ago, cause our craft store here sucks but I'm not going to let this turn into a rant post. Anyways, I and came across this awesome cupcake fabric. As soon as I saw it I knew I HAD to make an apron for my friend Jen (she's a new blogger). You might remember she was the one who named a cupcake after me! Super fun stuff!!

This was my first sewing project here in Germany (and my second apron ever!) I had a moment with the skirt where I had to call my mom and have her help me over the phone hehe!

I didn't even tell Jen I was making it, it was a total surprise.I was soo excited to find out that she got it today, and loved it. (Sorry you are sick Jen, get better soon!)


I love sending surprises to my friends!! :)

Isn't Christmas the BEST!!!!

xo's
Cat

Pin It!

Monday, December 20, 2010

Handmade Ornaments!

I got the lovelies handmade ornament in the mail last week. It came from my Ornament Swap partner Kristen! It's a little ball of yarn with a crochet hook in it. It's so perfect! Thanks Kristen!!

Here is the ornament I made for her.
A little felt & fleece penguin with a crocheted hat.
Here is the penguin hanging by the reindeer that I made before I shipped him out.

Oh and my initial hearts that I made for my friend Maggie and her boyfriend Dallas! These were fun!
I love, love, love ornaments, especially handmade ones!

I can't believe that Christmas is literally next weekend. I'm not ready! I still have some things I want to do and make before Christmas day! Ariana and I have lots of goodies left to bake still!

xo's
Cat

Pin It!

Sunday, December 19, 2010

Applesauce Ornaments

These Applesauce Ornaments are a great craft for the kids!
A perfect project for Christmas!
AND they smell yummy!!

My friend Bethany told me about her and her daughter Cailin making these fun ornaments. They sounded like something Ariana would like to do, so I decided to try them.

 The best part, you probably already have everything to make these in your cupboard!

Here is how I made mine. 
It was sort of trial and error, but happily, they turned out great!

What you need:
Applesauce (1 cup)
Cinnamon (2 small round containers, or about 1/2 of a big container)
Flour (1 cup. I eyeballed it since my dough was too wet, adding a little bit at a time.)
Cookie cutters, wax paper, rolling pin, toothpick

Mix all this together to make a dough. Roll it out on wax paper. (Be sure to sprinkle well with flour or it may stick)  Cut out shapes with cookie cutters. Use a toothpick or straw to make a hole in the top to string them up with later. I put mine on an cookie sheet and baked in a 150 degree oven for about 2 hours, turning them over halfway through. Bake until dry and hardened, or let them sit out and air dry (this could take a while).

 Ariana loved helping rolling the dough, and cutting out the shapes. 
My dough made about 10 ornaments, but some of mine were pretty thick.

 Once they are dry, string them up with ribbon (I used raffia for mine) and let the kids hang them on the tree!


Resist the urge to smell them all day!

Thanks for the fun idea Bethany! Ariana and I had so much fun doing these!

xo's
Cat
♥♥♥

Pin It!

Friday, December 17, 2010

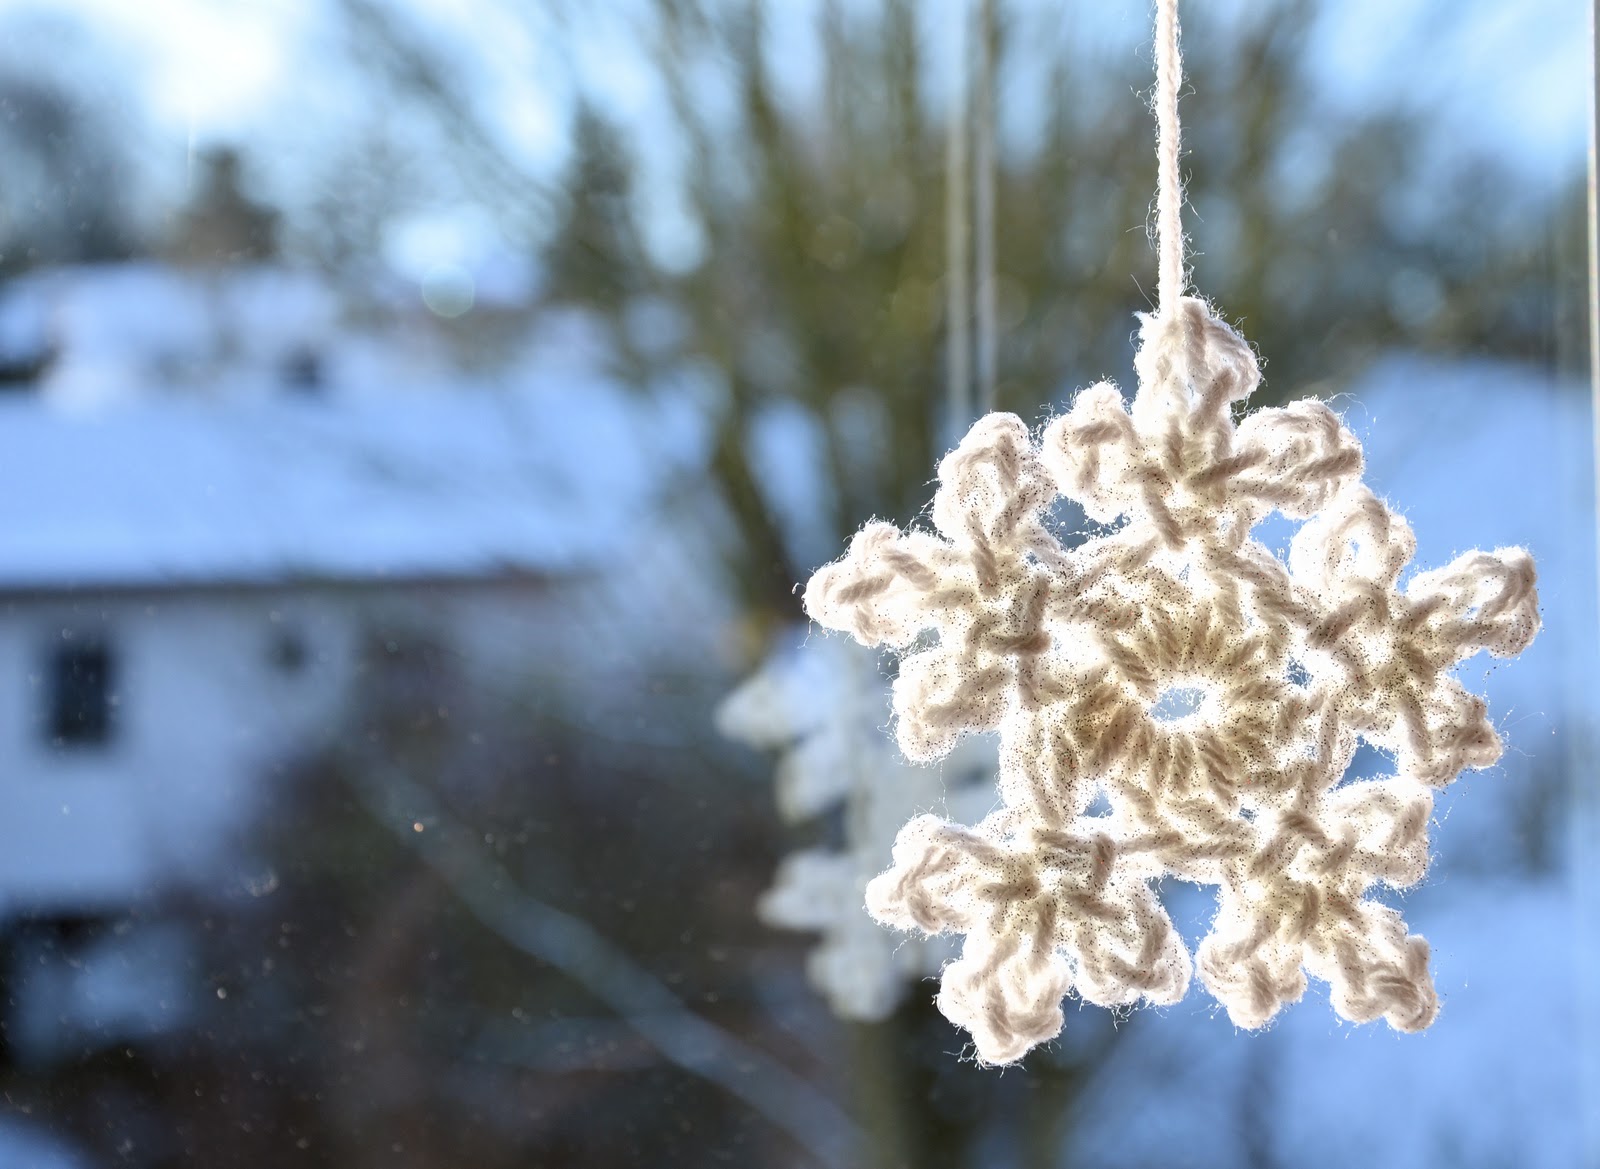
Christmas Craft: Crochet Snowflakes

A Christmas Craft!
These crocheted snowflakes are so fun!
I warn you now, these can be really addictive!


They are pretty easy and fast to make. I found the pattern here.
I used white Red Heart yarn and a 5mm hook.


DIRECTIONS:
First chain 6, then join with slip stitch to form a ring.
1. Chain 3 double chains into ring
2. Chain 5, then slip stitch in 5th chain from hook, to form a loop. (this is called a Picot)
3.  Repeat Picot 2 more times.
4. Slip stitch in first stitch of first Picot of 3-Picot group just made.
(This makes one point on the snowflake)
5. 2 double chain in ring
6. Repeat steps 2-5 four more times to make a 5 pointed snowflake.
7. Join with a slip stitch to top of beginning chain 3
8. Finish off and sew in ends.

***Sometimes I have a hard time reading directions when crocheting. If you're like that too, let me know in a comment, I'm considering making a short video on how to crochet these snowflakes.***

Your snowflakes will be floppy and want to fold up.
To make them stiffer and hang pretty, I decided to pin mine down to cardboard and spray with them with starch.
Then, I sprinkled mine with a little silver glitter for a little bit of sparkle!


Sprinkle with glitter when they are wet with starch. Let them dry, flip them over, pin them again and do the other side.


They can be used several ways:


Use them for decorating presents, hang them as ornaments, make a garland or make a pretty window decoration!

Have fun with them!
Happy crocheting!

xo's
Cat

Pin It!

Wednesday, December 8, 2010

...and the (handmade) stockings were hung by the chimney with care

Hello Stocking Swappers! 
 
I hope that by now you've mailed your stocking off to your swap buddy! Maybe some of you have already received your stockings!

I'm super excited for my partner to get my stocking full of goodies!
I handmade this stocking for fun the other night. I love the "clean and modern" feel to it!


I've created a Flickr group for us to post our pictures online. I can't wait to see all the stockings and goodies you all sent! I totally understand that some of you want it to be a surprise until your swap buddy gets the stocking. I'm not sure if anyone will join but become a member if you want, so that when you get your stocking you can post your picture! That way we call all see what you made! Join the group here. (Oh yea, and Flickr is free, in case you didn't know.)

I'm working on getting some photos organized for my next post!
Our snow is being rained on, and it's turned into big slushy puddle out there!

xo's
Cat

Pin It!

Tuesday, December 7, 2010

Kid Craft: Noodle Necklaces!

I have been doing a few fun crafts with Ariana and have several more in my head that I'm planning to do in the next few weeks. You'll be seeing a few "kid craft" posts throughout December. Some are just for fun, and some are for Christmas. I also have a few adult crafts and DIY's to share too!!

Ariana is only 2 years old, so they are pretty beginner, but you can add different elements to each idea to make it more suitable for your kids!

First Kid Craft: Noodle Necklaces!
With some help planning from my Aunt, I came up with this craft.

Supplies:
noodles (I used about 1/2 box of rigatoni)
food coloring
rubbing acohol
shoelaces (I used 27 inch ones)
(Also you'll need bowls to dye noodles in, something like aluminum or wax paper to dry your noodles on, and a kid!)

To dye your noodles, separate a  handful of noodles into different bowls. Add in 1 capful of rubbing acohol and a few drops of liquid food coloring to each bowl. I used about 6 drops of the food coloring on each batch, but use as many or as little as you want. Stir until coated well. Let your noodles sit in the bowls for a couple hours, stirring occasionally to ensure even coating of dye. Lay flat on aluminum foil to dry. I made red, green, blue and yellow (although it looks kinda orangey).

Once your noodles are dry tie a knot in the end of the shoestring so that noodles won't slip off the end. Then have fun stringing them into bracelets, necklaces, or even make Christmas ornaments like we did!


This is a fun and easy craft for those cold winter days when you're stuck inside.

One shoestring made one small (2 year old size) necklace and when I cut it into 2 pieces I could string 3 noodles on each and make a ornament. I'm sure there are lots of other fun things to do with these. Ariana loved sorting them and stringing them by color.

**Be sure to check back soon, because my next craft post is going to be a Christmas one!!!

xo
Cat

Pin It!

Saturday, December 4, 2010

Reindeer Ornament

A few weeks ago I joined Strumpet's ornament swap. This little reindeer was the first ornament I made. He is totally top heavy, so I decided not to send him to my swap partner, but instead kept him for myself. I'm totally in love with him though!


His body is hand stitched felt and his antlers are a cheerful red fabric. I even crocheted him a little scarf to keep the chill off when he's helping Santa fly his sleigh on that cold winter night!

I've made a few other ornaments, but I can't share them right now because they are gifts!! :)
I LOVE Christmas crafting! 
What kinds of ornaments are you making??

xo's
Cat

Pin It!